Vegetable potstickers
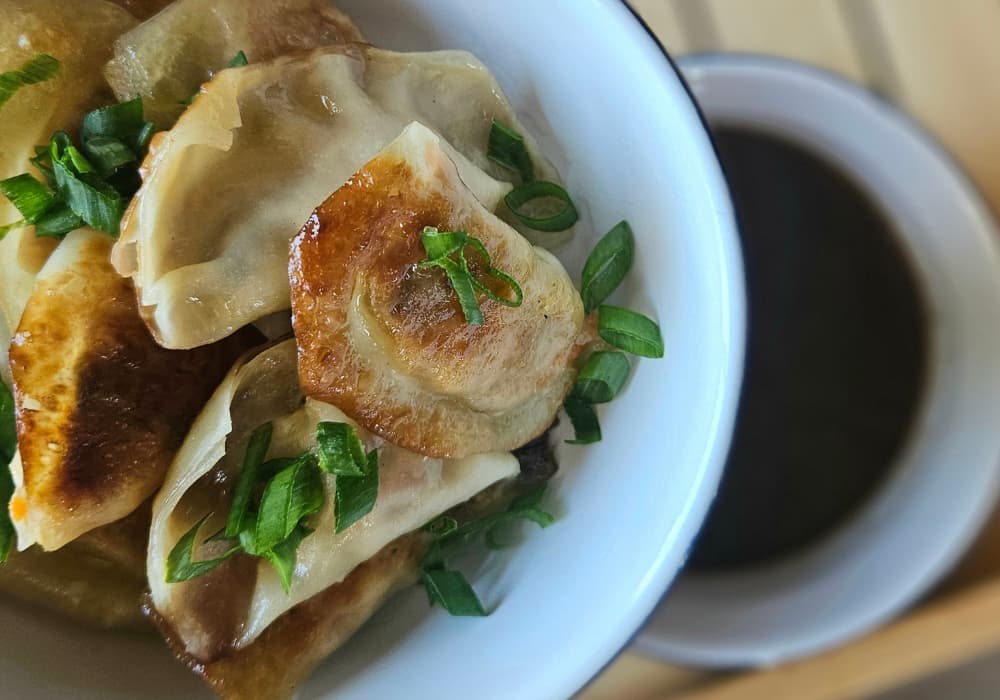
Crispy on the bottom, soft and tender on top, and packed with a savory filling, these vegetable potstickers are a crowd-pleasing appetizer that’s surprisingly easy to make at home. The filling is made with crumbled tofu, mushrooms, cabbage, carrots, and green onions, seasoned with soy sauce and toasted sesame oil for a rich, savory flavor in every bite. They’re fully plant-based, too, with tofu adding a boost of protein.
Each potsticker is pan-fried until golden, then steamed until the wrappers are perfectly tender. Serve them with your favorite dipping sauce, like teriyaki, sesame ginger, or gyoza sauce. They’re perfect for parties, game day, or a fun weekend cooking project, and since they freeze beautifully, you can make a big batch and keep some on hand for whenever a craving strikes.
Preparation Time: 1 hour 15 minutes (plus 1 hour to chill)Ingredients
Filling
- 1 (16-ounce) block firm tofu, drained and pressed
- 1 (8-ounce) package mushrooms, finely chopped
- 1 cup thinly shredded green cabbage
- 1 carrot, grated
- 2 green onions, chopped
- 3 tablespoons soy sauce
- 1 tablespoon toasted sesame oil
- 1 tablespoon avocado oil
- 2.5 tablespoons cornstarch
Potstickers
- 40 round potsticker or dumpling wrappers
- 4 tablespoons avocado oil, divided
- 2 cups water, divided
For serving (optional)
- dipping sauce, such as teriyaki, sesame ginger, or gyoza sauce
Preparation
- Prep the ingredients: Drain and press the tofu, then chop and prepare the vegetables.
- Mix the filling: In a large bowl, crumble and mash the tofu. Add the mushrooms, cabbage, carrot, green onions, soy sauce, and sesame oil and mix well.
- Cook the filling: Heat 1 tablespoon of avocado oil in a large skillet over medium-high heat. Add the filling and cook for about 10 minutes, stirring often, until the cabbage is very soft. Remove from the heat.
- Chill the filling: Transfer to a bowl, stir in the cornstarch, and refrigerate for about 1 hour, until completely cool.
- Fill the potstickers: Place a wrapper on a clean surface and add about ½ tablespoon of filling to the center. Dip your finger in water and run it along the edge, then fold in half and press to seal. Repeat with the remaining wrappers and filling. If using square wrappers, trim the corners with a paring knife for a rounded shape.
- Pan-fry the first batch: Heat 2 tablespoons of avocado oil in a large nonstick skillet over medium-high heat. Add half the potstickers, flat side down, and cook for about 4 minutes, until golden brown on the bottom.
- Steam: Carefully add 1 cup of water (it will sizzle), cover, and reduce the heat to low. Steam for about 5 minutes, until the wrappers are tender.
- Repeat: Wipe out the pan if needed, then repeat with the remaining oil, potstickers, and water.
- Serve: Serve warm with your favorite dipping sauce.
Tips
- Keep the wrappers covered: Cover the wrappers you’re not using with a damp towel so they don’t dry out and crack.
- Don’t overfill: About ½ tablespoon of filling is plenty. Overfilled potstickers are hard to seal and may burst while cooking.
- Seal them well: Press the edges firmly so no air or filling escapes. A little water along the edge helps them stick.
- Give them space: Leave a little room between the potstickers in the pan so they don’t stick together and each one gets a crispy bottom.
- Add more flavor: Stir a little minced garlic or fresh ginger into the filling for an extra savory kick.
- Make ahead: Make the filling up to 2 days ahead and refrigerate until you’re ready to assemble.
- Storage: Refrigerate cooked potstickers in an airtight container for up to 3 days.
- Reheating: Reheat in a lightly oiled skillet over medium heat for a few minutes to re-crisp the bottoms.
- Freezing: Freeze uncooked potstickers in a single layer on a lined baking sheet until firm, then transfer to an airtight container for up to 3 months. Cook from frozen, adding 2 to 3 extra minutes of steaming.
Try Plant-based Today